
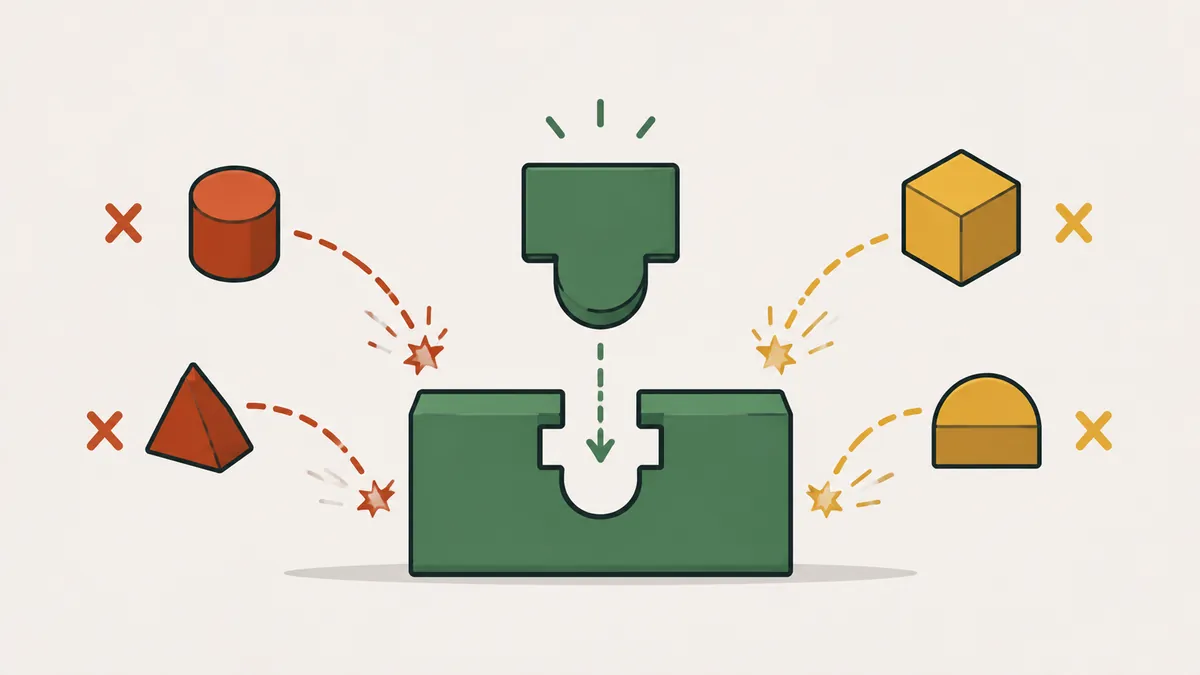
A method in seven steps
Poka-yoke does not come from a brilliant idea on the spot. It comes from a sequence: choose the right error, understand the cause, design the barrier, and prove that it works. This roadmap has seven steps, from data to habit.
Each step has a concrete output: a prioritized list, a documented cause, a tested device, an updated standard, and a verification routine. If the step did not produce that output, it is not finished.
If you want the theory, see poka-yoke: error-proofing devices. To choose the solution strategy, see the six principles of poka-yoke. Here the subject is execution.
Step 1: choose the error with Pareto
Collect the defects for the period and sort them by frequency or cost. The Pareto chart shows which few types concentrate most of the problem.
Illustrative example: of 200 defects in a month, 90 were "reversed connector," 50 were "missing screw," and 60 had miscellaneous causes. Starting with the 90 addresses 45% of the total (90 ÷ 200). Attack one error at a time.
Before moving on, set the baseline: how many defects of this type per week, at which workstation, on which shift. Without that baseline, you cannot prove afterward that the device worked. A simple board, filled in by hand, is enough.
Step 2: assess the risk with FMEA
Frequency is not everything. A rare but serious error may deserve priority. In FMEA, each failure mode receives scores for severity, occurrence, and detection. The product of the three is the RPN (risk priority number).
Illustration: severity 8, occurrence 5, and detection 6 give an RPN of 240 (8 × 5 × 6). An item with an RPN of 240 goes ahead of another with an RPN of 60. Combine Pareto with FMEA to decide what to attack first.
A practical rule: if the RPN of two items is similar, break the tie by severity. A failure that puts safety or the end customer at risk goes first, even if it rarely occurs. Record the decision in the FMEA spreadsheet itself, so the team understands why an item was chosen.
Step 3: find the root cause
A device placed on the wrong cause does not solve anything. Go to the workstation, observe the real operation, and use the 5 Whys or the Ishikawa diagram.
Always ask where the error originates, not where it was discovered. A reversed connector found at final inspection may have originated at an earlier station, where two identical cables sit side by side.
Observe at least three complete cycles, on different shifts. Write down what the operator does, what the procedure says, and where the two differ. The cause is almost always in that gap: an ambiguous instruction, an uncomfortable position, similar-looking parts, or rushing to meet a production target.
Step 4: choose the device
Define the protection principle and the type of device. Prefer prevention over detection. Compare the options by cost, lead time, and reliability.
| Option | Type | Relative cost | Reliability |
|---|---|---|---|
| Asymmetric fit on the jig | Prevention | Low | High |
| Presence sensor | Detection with stop | Medium | High |
| Checklist | Facilitation | Very low | Medium |
Involve the operator in the design. They know the clearances, the quirks of the workstation, and the shortcuts the standard does not anticipate.
Record the selection criteria. If prevention costs much more than the defect it avoids, detection with a stop may be the rational decision. What is not worth doing is choosing the device by price without considering the reliability it delivers on the overnight shift.
Step 5: test with induced failure
Build a simple prototype and test it. The decisive trial is to cause the error on purpose: assemble the part reversed, remove the screw, pass an out-of-tolerance part. The device must block or warn on every attempt. Keep a defective sample part, identified by color, to repeat the trial whenever necessary.
- The device reacts to 100% of the induced failures.
- It does not generate false alarms that lead to it being disabled.
- It does not slow the cycle beyond what is acceptable.
- It is safe and does not create a new risk for the operator.
Steps 6 and 7: standardize and audit
Step 6: standardize
An approved device becomes part of the process. Update the work instruction, the control plan, and the FMEA. Train the operators on all three shifts and include the device in the maintenance plan, with periodic cleaning and calibration. The foundation is standardized work.
Step 7: audit and sustain
Without verification, poka-yoke loses its effectiveness: the sensor is switched off "just for today," the jig is improvised. Run a simple, frequent audit.
- Test the device with a known-failure part at the start of the shift.
- Record the result on a visible board.
- Track the original defect for four to eight weeks and compare it with the baseline from step 1.
- Treat any deactivation as a deviation and investigate the reason.
Share the solution with other workstations that carry the same risk. A jig that worked at one station usually works at others, and replication multiplies the gain without repeating the analysis.
If the defect does not drop, go back to step 3. The root cause was probably somewhere else. The cycle follows PDCA.
Next step
Build a Pareto chart today with the defects from last month and choose a single error. Set aside an hour at the workstation with the operator for step 3 and set a date for the induced-failure test. A simple, well-validated device is worth more than five untested ideas. To organize solutions by strength of protection, also use the ladder of six principles.
Frequently asked questions
How many steps are there in implementing poka-yoke?
This roadmap proposes seven: Pareto, FMEA, root cause, device selection, testing, standardization, and audit.
Why use Pareto and FMEA together?
Pareto shows what happens most often. FMEA adds severity and detection. Together, they keep you from attacking the noisy error and forgetting the serious one.
What is the induced-failure test?
It is forcing the error on purpose to check whether the device blocks or warns. Without this test, you do not know whether it works.
Can the operator disable the device?
They should not. If it happens, treat it as a deviation and find out why: false alarm, slowness, or poor design.
How long does it take to see the result?
It depends on how often the defect occurs. Track it for four to eight weeks before declaring the cause treated.
Keep studying
Sources
- SHINGO, S. Zero Quality Control: Source Inspection and the Poka-yoke System. Productivity Press.
- Lean Enterprise Institute. Poka-yoke (Lean glossary). https://www.lean.org/lexicon-terms/poka-yoke/
- Lean Enterprise Institute. Five whys (Lean glossary). https://www.lean.org/lexicon-terms/five-whys/
- LIKER, J. O Modelo Toyota. Porto Alegre: Bookman.
Keep studying: trusted sources and links
Save this address: Manufatura Enxuta is your school for lean manufacturing. Come back whenever you need to study, with a complete article, a visual map and trusted sources. Follow one of the learning paths or check the A–Z glossary.
Want the tools ready to use?
Download the free "Problem-Solving Kit" e-book, with PDCA, A3, 5 Whys, and Ishikawa.
Download the e-book
About the author
Lean Manufacturing & Behavioral Management Specialist
Over 20 years in the automotive and metalworking industries (GM and Dana), Lean Manufacturing practitioner since 2006. SENAI instructor and mentor in Brazil’s Brasil Mais Produtivo program, delivering consulting, training and audits for 50+ companies, combining quality, productivity and people development.